Are you a budding young photographer looking to make your mark in photography competitions? Whether you’re capturing moments with your smartphone or wielding a DSLR, the secret to standing out often lies in post-processing. From artistic fashion photoshoots to carefully crafted lifestyle photos, you’ve probably seen plenty of gorgeous visuals in magazines or on platforms like Instagram and Pinterest. Of course, what you don’t see is the painstaking editing process behind those breathtaking shots. Most photos you enjoy have gone through some kind of post-processing where they’ve been tweaked to perfection.
Curious how you can refine your visuals yourself? We’ll show you a few popular post-production techniques as well as some processing tutorials you can use to master the art of the edit.
What Does Post-Processing Mean?
Post-processing encompasses every change you make to a photo after you download the RAW file to your computer. It’s the process that takes unrefined images and polishes them into perfect captures.
The fundamentals of post-processing include everything from cropping to sharpening. The type of editing you do depends on the image you’re starting with and what kind of result you’re going for. For example, photographer Brandon Woelfel’s post-processing involves tweaking contrast, temperature, and tints to achieve a whimsical, dreamy look.
For Photography
Post-processing images generally includes a combination of cropping, correcting colors, adjusting exposure, and making images appear sharper.
Post-processing for photography also includes adjusting specific areas of the images by removing distracting background images (like a trash can from a park scene) or by lightening or darkening different sections. It can also mean blending multiple images together to create a composite—an imaginative image using realistic photos.
What Tools Do You Use for Post-Processing?
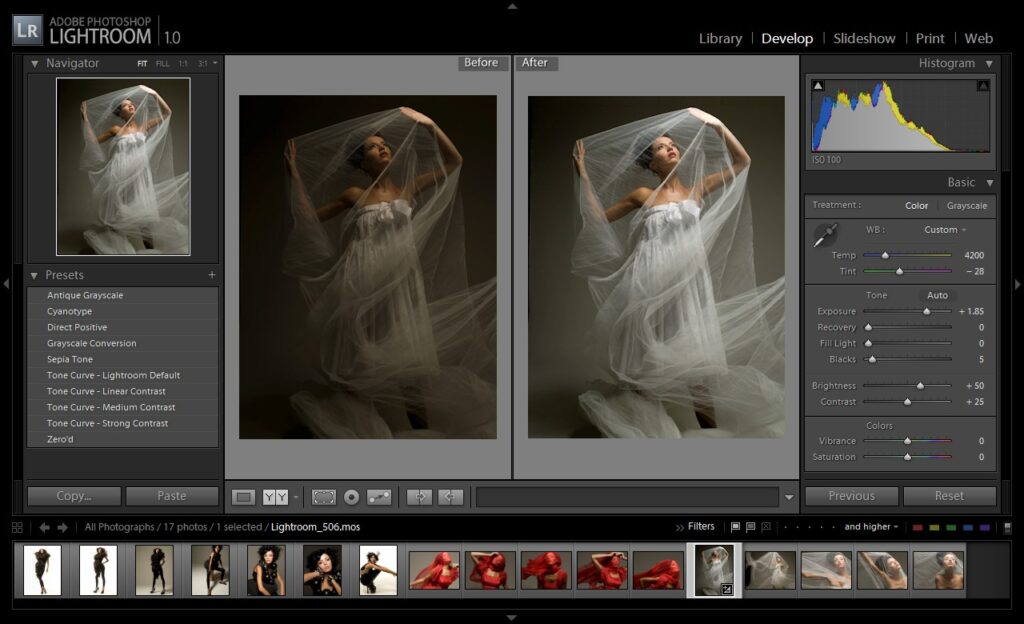
Professional and amateur photographers use the Adobe Creative Cloud (which includes Lightroom and Photoshop) for post photo processing.
Some photographers will use different plugins and presets to make the editing process faster and easier. Photographer Jellis Vaes recommends quite a few plugins for beginners.
How to Post-Process Photography
The way you post-process photography will depend on your image and your desired end result, which means there’s a lot of room for creativity here.
But, if you’re looking for a starting point, we’re covering some of the most common types of photography edits that happen in post-processing.
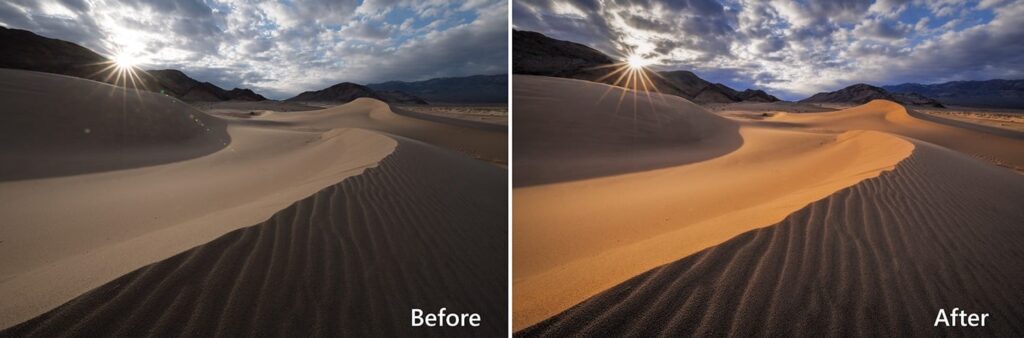
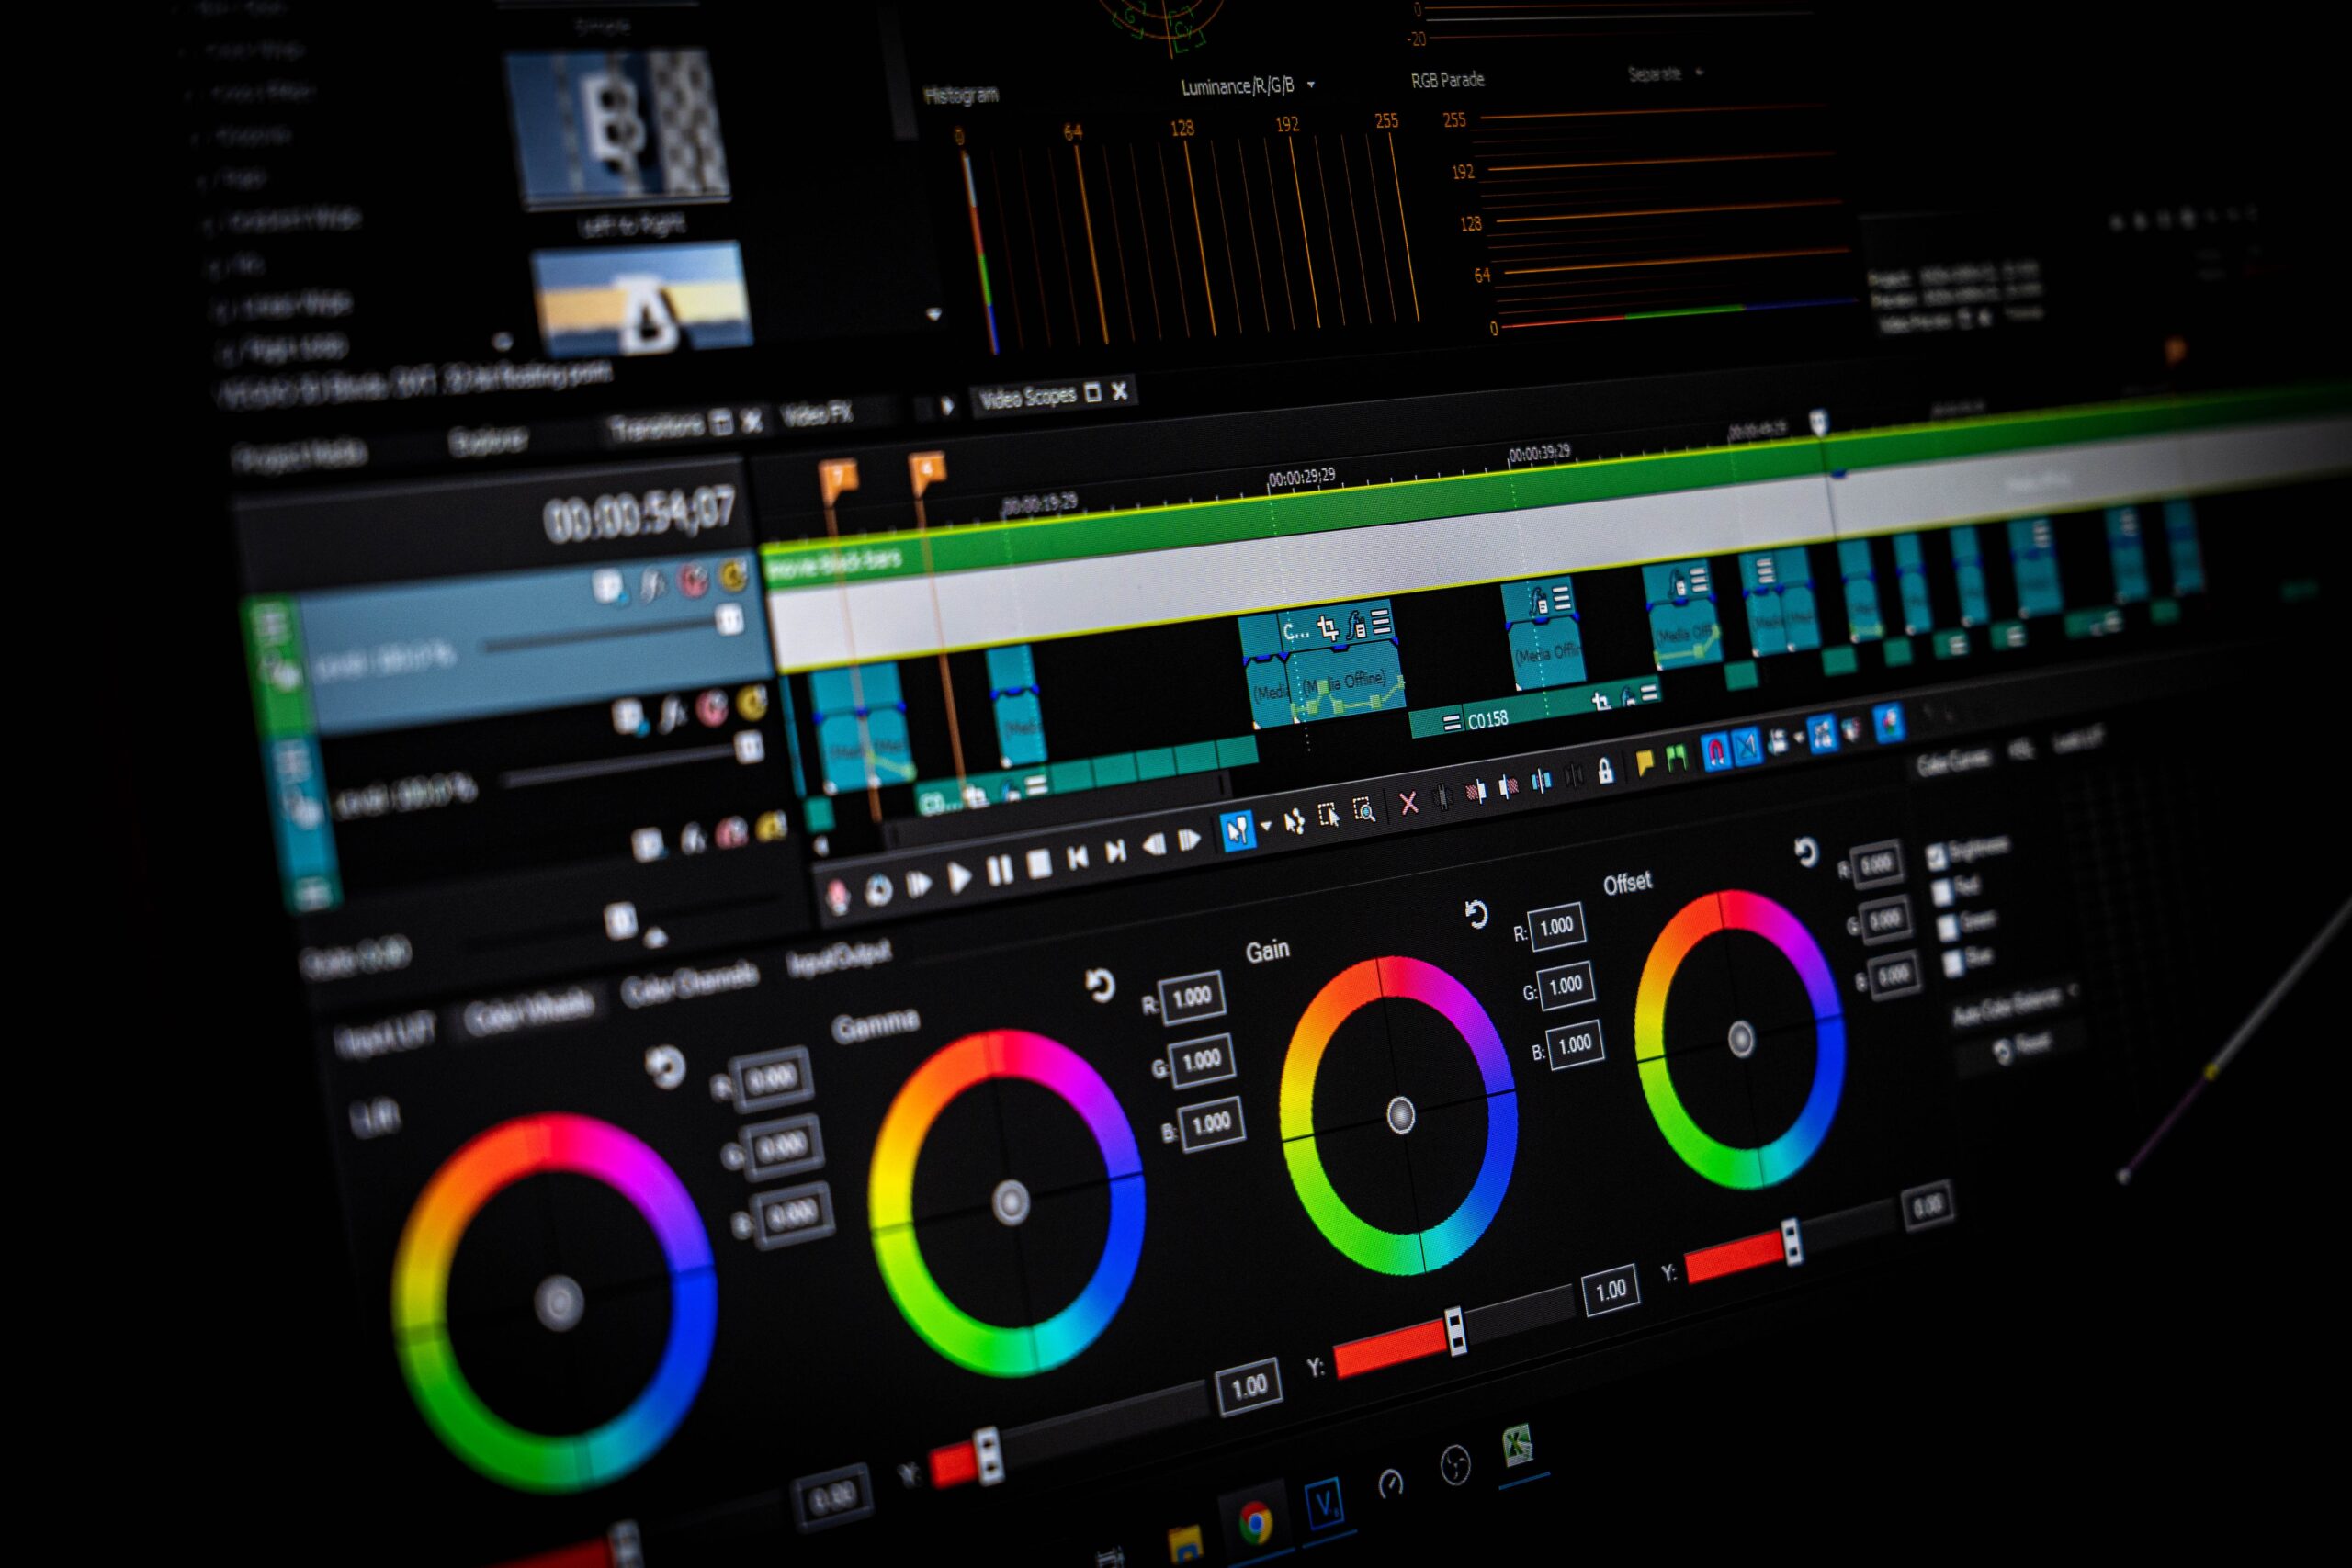
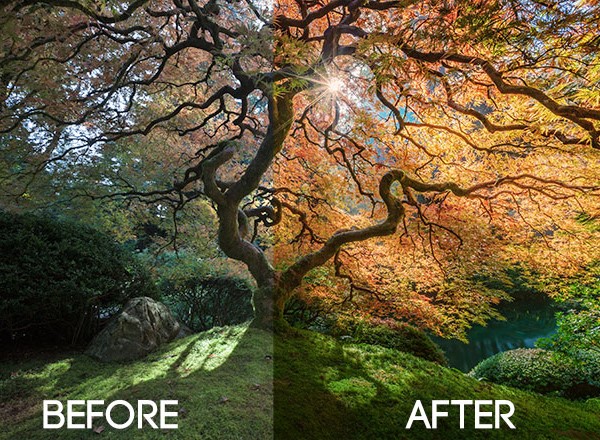
Adjust Colors By Changing White Balance, Saturation, and More
Color is what makes your images sing. Bright colors like a yellow horizon or pink glow might make a photo feel optimistic, while dark colors create a moodier vibe. Adjusting specific colors gives you the control to convey specific feelings.
Lightroom has a panel for hue, saturation, and luminance where you can make these types of changes. Adjusting the hue slider can change the exact shade of a color (like going from black to grey) while sliding the luminance changes the lightness or darkness of the shade (like the difference between slate grey and blue grey).
Sharpen the Image
Sharpening your photo makes it pop. You can also give your photos a crisper appearance by sharpening them. In Photoshop, you’ll go to the filter menu, choose “Sharpen,” and then select “Unsharp Mask.” You can use those sliders to adjust the sharpening effect.
Skillshare instructor and professional photographer Daniel Gastager uses a more advanced technique called focus stacking, where he layers multiple identical photos together in Photoshop to reveal the sharpest parts of each photo. To do this, click “File,” then “Scripts,” and then “Load File to Stack.”
“There’s no exactly aligned image when you use two different focal points, and it’s the reason why we need Photoshop to overcome this issue,” says Gastager in his Skillshare class.
Watermark Your Work Before Sharing
When you’ve worked hard to perfect a photo, you want to make sure you get credit for your work.
Photographers advise adding a watermark to any professional shot you share. To make a watermark, take the PNG file of your logo and create a new layer in Photoshop. Then, size and position your logo in the layer and add a transparent background. Once you have that saved, you can insert the watermark into any photo you need to. Use temperature and tint sliders to adjust the white balance of any shot in Premiere Pro. You can also adjust the exact exposure, contrast, and saturation of any shade.
Be Proud of Your Hard Work
With these post-processing tips in your toolbox, you’re well-equipped to enhance your photography competition entries. Remember that photography is not just about taking pictures; it’s about telling a story, conveying emotions, and leaving a lasting impression.
We can’t wait to see your enhanced photographs in future competitions. Keep practicing, stay creative, and keep the passion for photography alive!
Happy shooting and editing!